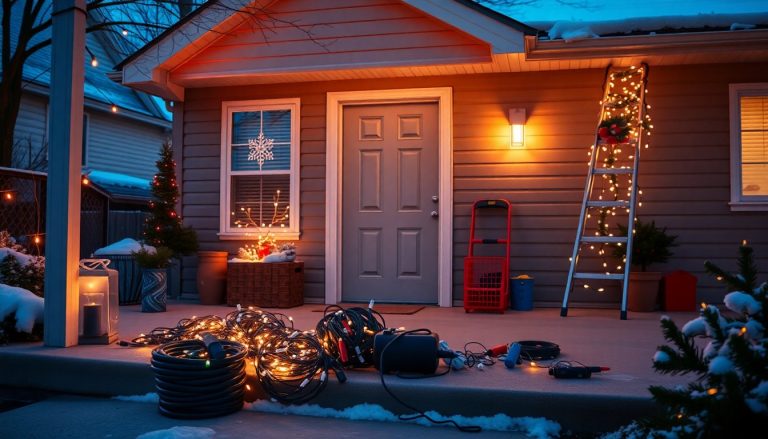
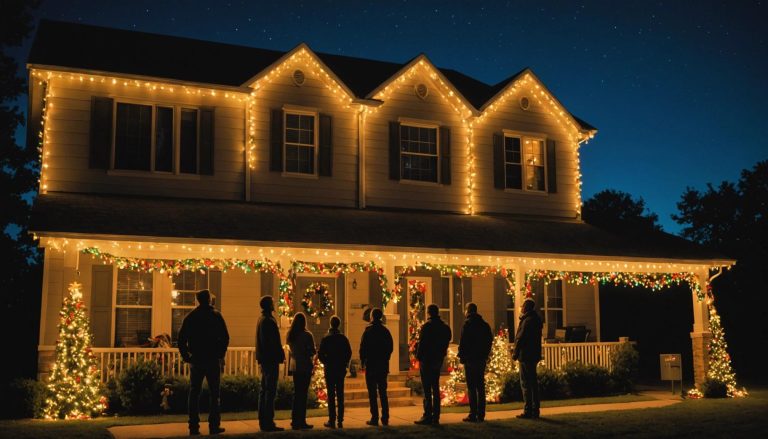
Measuring Home For Christmas Lights (Easy How-To Guide)
Nothing feels more festive than a home glowing with Christmas lights. But before you climb that ladder and start stringing bulbs, there is ONE step most people skip. Measuring for Christmas lights is the difference between a smooth install and a frustrating trip back to the store. We have helped countless homeowners across the DFW area light up their homes, and the number one mistake we see is guessing instead of measuring.
In this easy how-to guide, we will walk you through exactly how to measure your home for Christmas lights. From your roofline to your trees, we will cover every spot you might want to light. Grab a tape measure and let us get started.
What Tools Do You Need to Measure for Christmas Lights
You do not need fancy gear to measure your home for lights. In fact, most of the tools are probably sitting in a drawer or garage right now. The goal is simple. You want accurate numbers so you buy the RIGHT amount of lights the first time. Too few and your display looks patchy. Too many and you have wasted money on strands you will never use.
Here is what we recommend having on hand before you start measuring:
- A tape measure – a 25-foot model works for most homes, but a longer 100-foot reel is handy for large roofs.
- A notepad or your phone – write down every measurement as you go so you do not forget.
- A pencil – for sketching a rough outline of your home.
- A ladder – only if you can safely reach areas to measure them.
- A helper – one person holds the tape while the other reads and records.
- A calculator – to add up your totals at the end.
Safety matters more than speed here. If you ever feel unsteady on a ladder, please measure from the ground when possible or ask for help. You can review our full Christmas light installation safety guide to keep yourself protected during the whole process.
How to Measure Your Roofline and Gutters for Lights
The roofline is the STAR of most Christmas light displays. Those crisp lines along your gutters and peaks give your home that classic holiday glow. Measuring the roofline takes a little patience, but it is worth doing right. Remember that a roof is rarely a simple rectangle. Peaks, dormers, and angled sections all add extra length you need to account for.
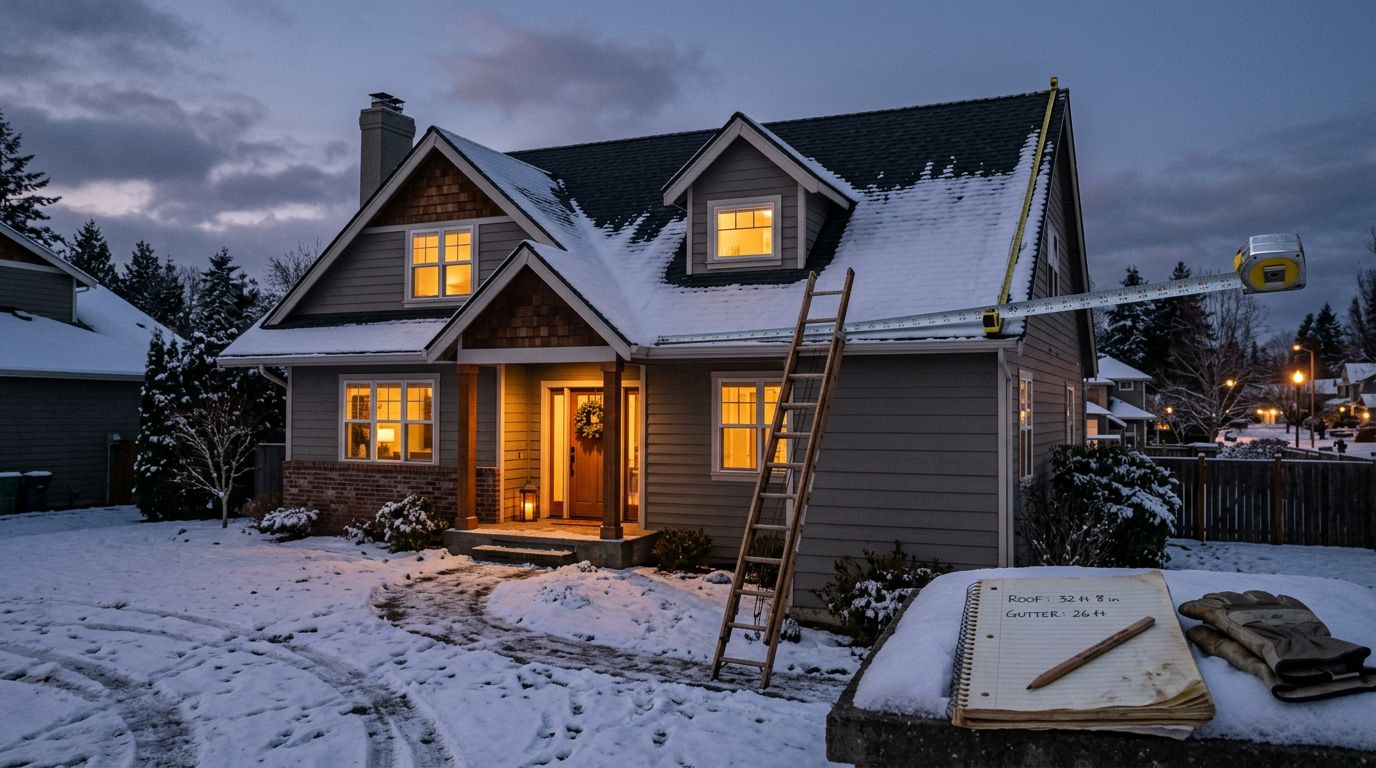
- Start at one corner of your roof where you plan to begin the lights.
- Measure the length of the front-facing gutter line from end to end.
- Move to each additional roof edge you want to light, measuring one section at a time.
- Do not forget the PEAKS. Angled roof lines are longer than they look from the ground.
- Measure any dormers or second-story sections separately.
- Add all your section numbers together for a total roofline length.
- Add about 10 percent extra to your total to cover corners and slack.
Write each section down as its own number instead of trying to keep a running total in your head. This makes it easier to double-check later. If your roof has a lot of complex angles, take a step back and sketch it out. A simple drawing with labeled measurements will save you a ton of confusion when you start ordering lights. For inspiration on how to arrange those roofline lights, browse some Christmas light display design ideas before you buy.
How to Measure Windows, Doors, and Columns
Once your roofline is measured, it is time to focus on the smaller details that really make a home shine. Windows, doors, and columns add depth and warmth to any display. These areas are easy to measure since they are usually within reach from the ground or a short step stool.
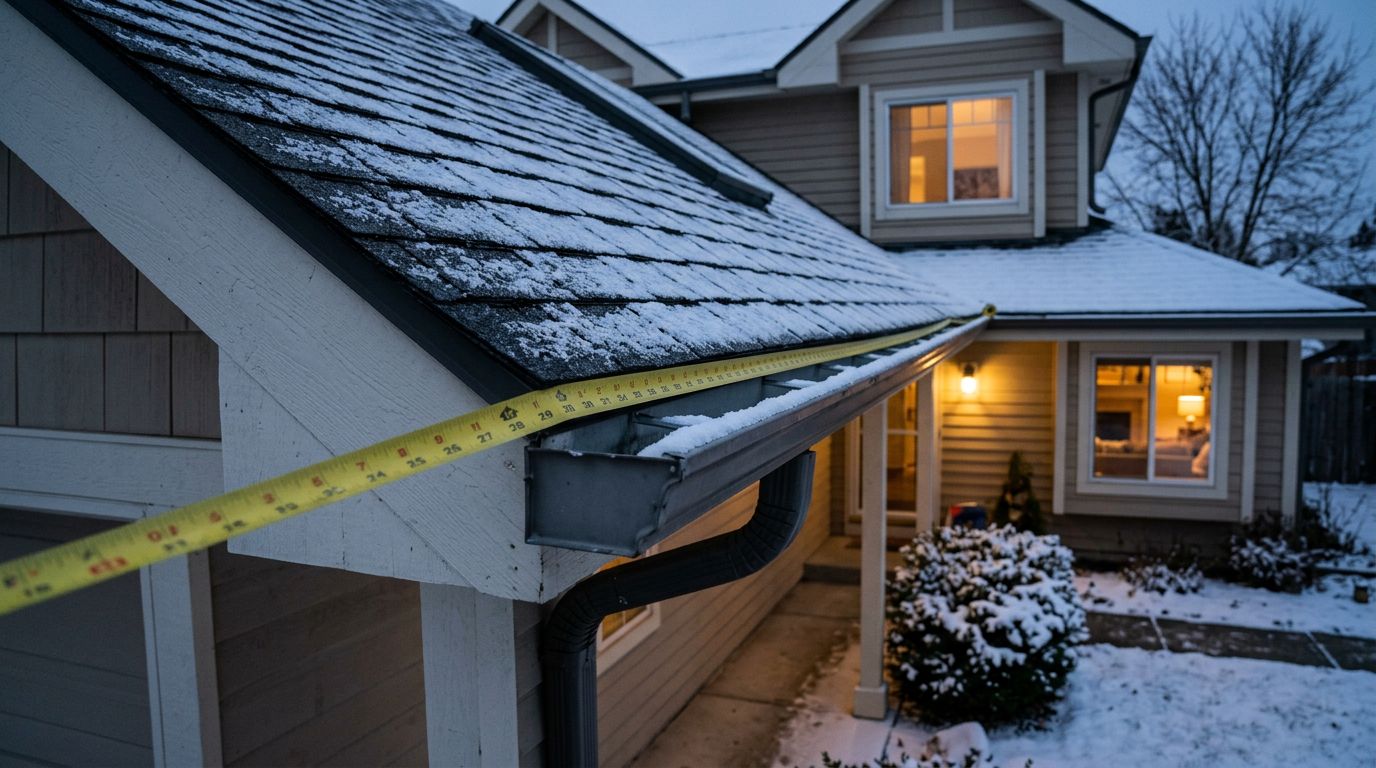
Measuring Windows
Measure the full perimeter of each window you want to outline. That means adding up all four sides. If you have several windows of the same size, measure one and multiply. Most standard windows are between 12 and 20 feet in perimeter. Write down the count of windows along with their sizes so you can plan matching strands.
Measuring Doors
For doors, measure up one side, across the top, and down the other side. Most people skip the bottom since lights rarely run across a doorway floor. A standard front door frame usually needs around 17 to 20 feet of lights. If you have a grand double door or an arched entry, measure carefully since these use more.
Measuring Columns and Posts
Columns are a favorite spot for wrapping lights in a spiral. To measure one, first find the height of the column. Then decide how tight you want your wrap. A tighter spiral uses MORE lights. As a rule of thumb, multiply the column height by three for a medium wrap. So a 9-foot column needs roughly 27 feet of lights. Measure each column and add them together.
How Many Feet of Christmas Lights Do You Need
Now comes the fun part. Adding it all up. Once you have measured every area, total your numbers to find out how many feet of Christmas lights you need. This is where all that careful measuring pays off. Buying the right amount means fewer trips to the store and a display that looks complete instead of half-finished.
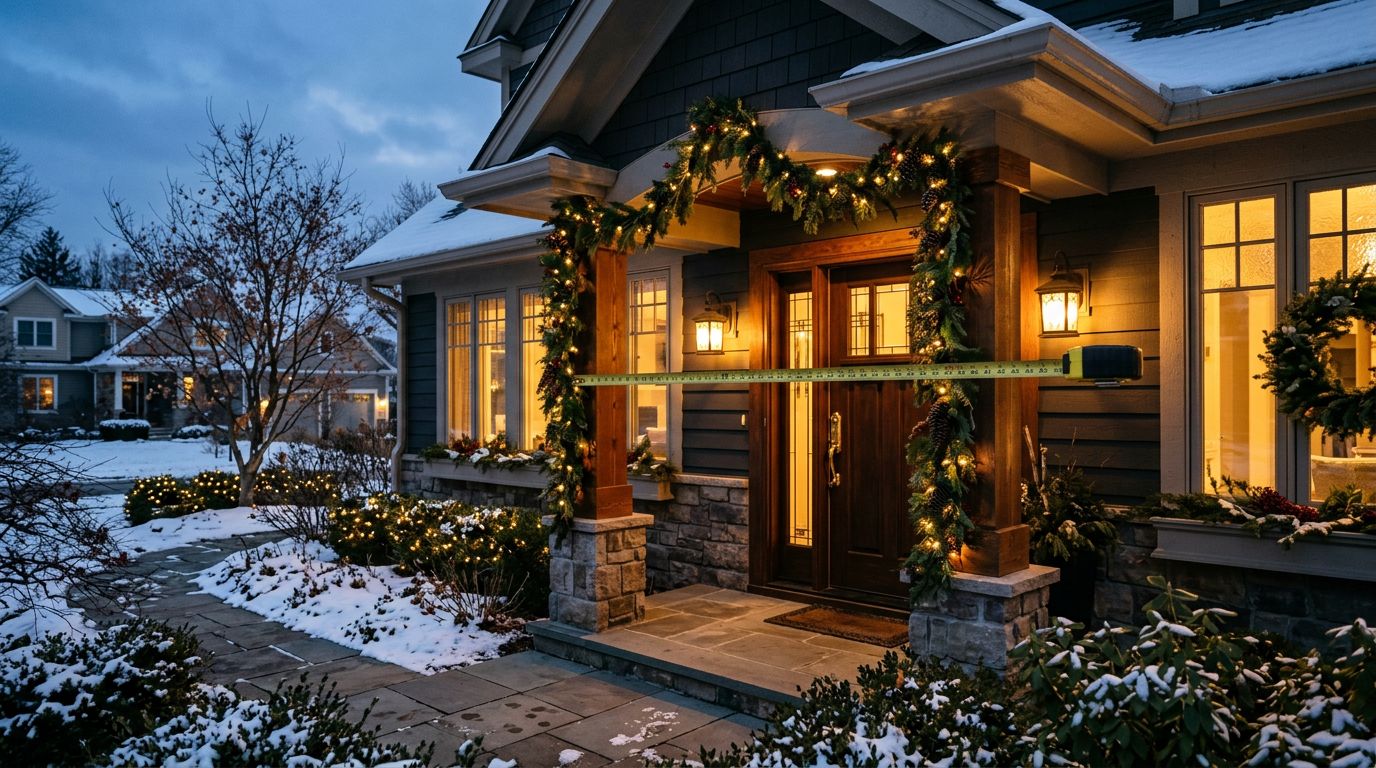
Here is a quick breakdown to help you estimate common areas:
- Roofline – use your total gutter and peak measurement, plus 10 percent extra.
- Each window – about 12 to 20 feet depending on size.
- Each door frame – roughly 17 to 20 feet.
- Each column – column height multiplied by three for a medium wrap.
- Bushes – about 100 lights per foot of bush height and width.
- Wrapped trees – this varies a lot, so we cover it in the next section.
Always round UP when you buy. It is better to have a spare strand than to come up short on install day. Keep in mind that light strands come in set lengths, so you may need to buy slightly more than your exact total. If you are curious how professional pricing works for larger displays, take a look at our guide on professional Christmas light installation cost in Texas to plan your budget.
How to Measure Trees and Bushes for Christmas Lights
Trees and bushes bring a magical touch to any holiday display, but they are the TRICKIEST parts to measure. Unlike a straight gutter line, greenery has all kinds of curves and volume. The good news is you do not need to be exact. A close estimate will get you very close to the right amount.
- For bushes, measure the height and the width of the bush.
- Plan for roughly 100 mini lights per foot for a full, even look.
- For wrapping a tree trunk, measure the trunk height and its circumference.
- Multiply the circumference by the number of times you will wrap up the trunk.
- For branches, measure the length of each major branch you want to cover.
- Decide on your spacing. Tighter wraps look fuller but use more lights.
- Add all the trunk and branch numbers together for your tree total.
Wrapping a tree can eat up more lights than you expect, especially large ones. A single mature tree can easily use several hundred feet of lighting. If you want that dense, sparkling canopy look, plan for the higher end of your estimate. For smaller ornamental trees, you can get away with far less. When in doubt, measure the trunk and branches separately so you know exactly where your lights are going.
Common Measuring Mistakes to Avoid
Even careful homeowners make mistakes when measuring for Christmas lights. We have seen them all over the years. The good news is that most of these errors are easy to avoid once you know what to watch for. A little extra attention now saves you headaches later.
- Forgetting the peaks – angled roof sections are longer than they appear from the ground. Always measure the actual slope.
- Not adding slack – lights need a little extra length to reach outlets and turn corners. Add 10 percent to be safe.
- Guessing instead of measuring – eyeballing your roofline almost always leads to buying too few lights.
- Ignoring outlet locations – measure the distance from your display back to the nearest power source too.
- Skipping the sketch – a quick drawing keeps your numbers organized and prevents confusion.
- Rounding down – always round UP when buying. Running short mid-install is no fun.
- Forgetting spacing preferences – a tight wrap on trees and columns needs far more lights than a loose one.
Taking your time with these details makes the actual install go so much smoother. When your numbers are accurate, you spend less time troubleshooting and more time enjoying your finished display. That is what the holidays are all about.
Conclusion
Measuring for Christmas lights does not have to be stressful. With a tape measure, a notepad, and a little patience, you can figure out exactly how many feet of lights your home needs. Start with the roofline, then move to windows, doors, columns, trees, and bushes. Always add a little extra for slack and round up when you buy. Avoid the common mistakes like forgetting peaks or skipping a sketch, and you will be set for a beautiful display.
If measuring and installing sounds like more than you want to tackle this season, we are here to help. Our team proudly serves Watauga, Hurst, Euless, Richland Hills, Colleyville, Fort Worth, Arlington, and Dallas with professional Christmas light installation. Let us handle the ladders and the details so you can simply enjoy the glow.