Prepare Home For Christmas Light Installation (Easy Guide)
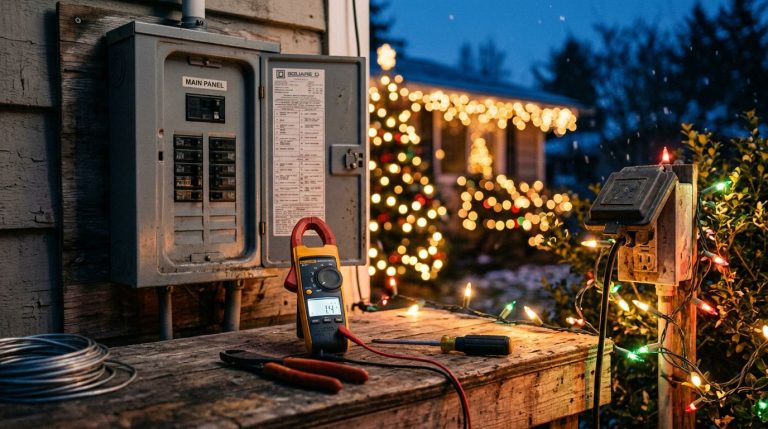
The holidays are almost here — and if you’re anything like us at DFW Christmas Light Installs, you can’t wait to see your home GLOWING. But before those twinkling strands go up, a little prep goes a long way. Learning how to prepare home for Christmas light installation makes the whole process faster, safer, and (honestly) way less frustrating. Whether you’re doing it yourself or getting ready for a professional crew, the steps below will set you up for success.
We’ve hung lights on hundreds of homes across Watauga, Hurst, Colleyville, and beyond. So we know exactly what separates a smooth installation from a headache. Let’s walk through everything — supplies, inspections, measuring, layout, power, and the mistakes to skip.
What Supplies Do You Need for Christmas Light Installation
Before you climb a single ladder, gather your gear. Nothing kills holiday spirit faster than running to the store THREE times in one afternoon. Having the right supplies ready means you can work quickly and safely — and keep that festive momentum going. Here’s what we recommend keeping on hand for any residential Christmas light installation.
- Christmas lights — LED strands are our go-to (they run cooler, use less power, and last longer than incandescent).
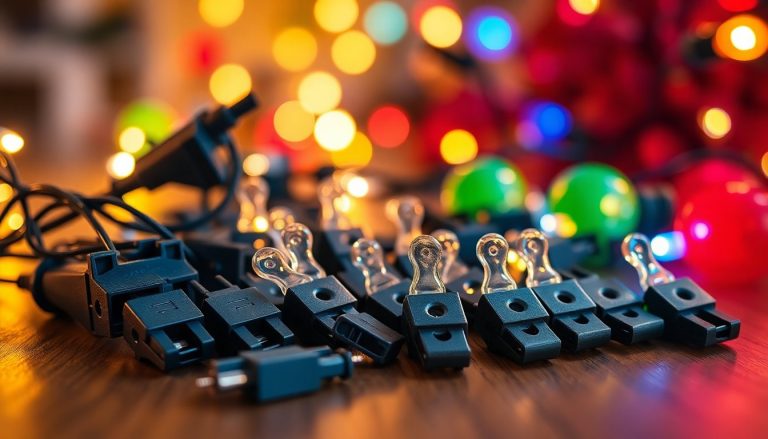
- Light clips — plastic gutter and shingle clips protect your roofline (no nails, no staples, no damage).
- Extension cords — outdoor-rated only (look for a “W” on the label).
- A sturdy ladder — extension ladder for rooflines, step ladder for lower spots.
- Timers or smart plugs — so your lights turn on and off automatically.
- Zip ties and adhesive hooks — great for securing cords along walls and columns.
- Work gloves — keeps hands warm AND improves grip.
- A tape measure — you’ll need it (more on measuring below).
- A power strip with GFCI protection — critical for outdoor safety.
- Spare bulbs and fuses — because one dead bulb shouldn’t ruin the night.
Pro tip — buy a few extra light clips than you think you need. They break, they get lost, and you’ll thank yourself later.
How to Inspect Your Roof and Exterior Before Hanging Lights
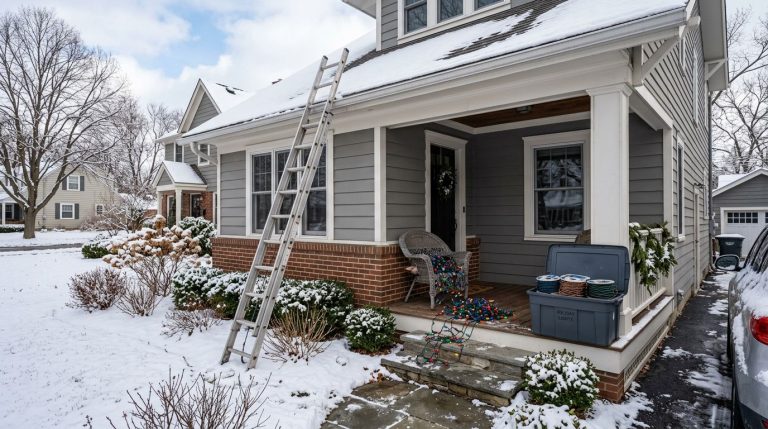
A quick inspection saves you from surprises. You don’t want to discover a loose gutter or a rotten fascia board while you’re 20 feet in the air. Before ANY lights go up, take ten minutes to walk your property and check the key areas. This step matters most for older homes here in Fort Worth and Arlington, where weather can wear down exteriors over time.
- Check your gutters. Make sure they’re clean, secure, and not sagging. Loose gutters won’t hold clips well.
- Inspect the roofline and fascia. Look for soft spots, cracks, or peeling paint that could fail under weight.
- Test your ladder placement. Find firm, level ground before you climb. Never lean a ladder on gutters directly.
- Look for loose shingles. Damaged shingles can shift when you attach clips — fix them first.
- Scan for power lines. Keep ladders and lights FAR away from overhead electrical lines.
- Check tree branches. Trim anything that hangs over your roof or blocks your intended light path.
- Note weather conditions. Never install on icy, wet, or windy days (safety first, always).
If you spot damage you can’t safely handle, that’s a good sign to call in a professional crew — we handle these tricky rooflines every day.
How to Measure Your Home for the Right Amount of Lights
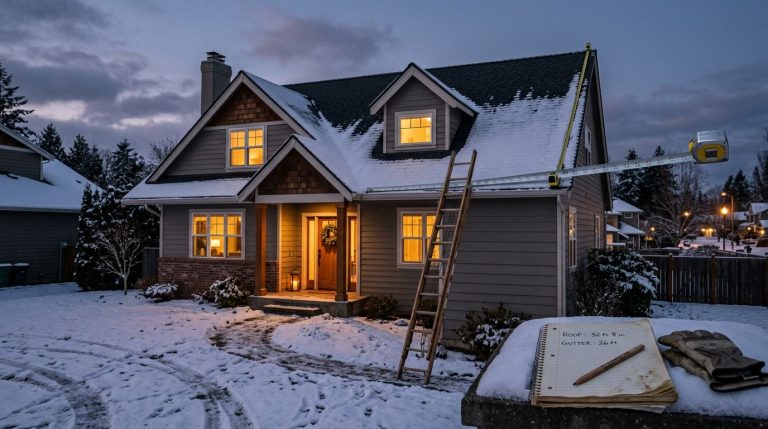
Guessing how many lights you need is the #1 reason people run short mid-project. Measuring FIRST means one trip to the store and a clean, balanced look. Grab your tape measure (or a long piece of string) and follow these steps. This works for both simple rooflines and more elaborate commercial Christmas light installation jobs.
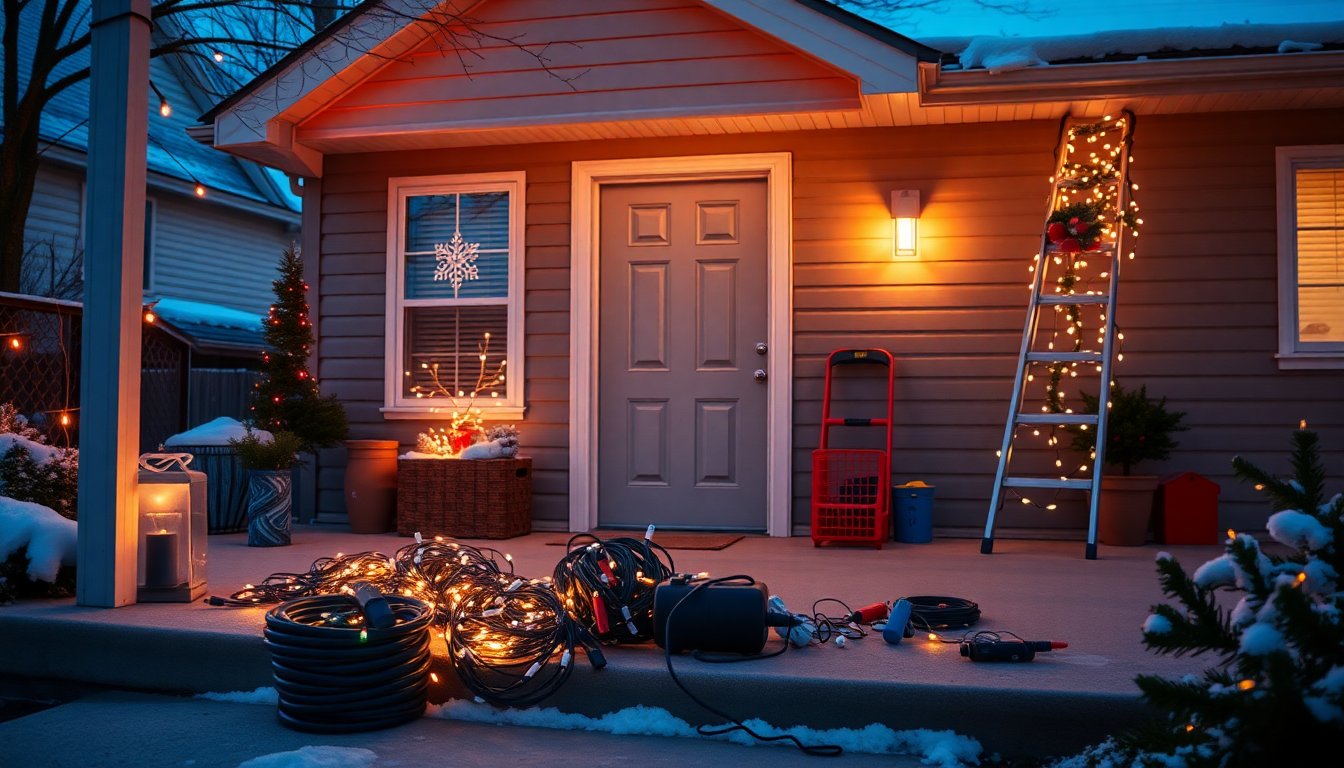
- Measure your rooflines. Walk the perimeter of every edge you want lit and add up the total feet.
- Measure vertical features. Include columns, door frames, and window trim if you plan to wrap them.
- Measure tree trunks and bushes. Wrapping takes MORE lights than you’d expect — plan generously.
- Add up your total footage. Combine all measurements into one number.
- Add 10-15% extra. This covers corners, gaps, and outlet distances.
- Divide by strand length. Most strands run 25 or 50 feet — figure out how many boxes you need.
- Check strand connection limits. Only connect the number of strands the manufacturer allows (usually 3-5 for LEDs).
Write your numbers down. Seriously — a simple sketch with measurements saves so much guesswork when you’re standing in the store aisle.
What Are the Best Ways to Plan Your Christmas Light Layout
Planning your layout is where the magic happens. A little strategy turns a random string of bulbs into a display the whole neighborhood stops to admire. Here’s how we approach layout design for homes across Euless and Richland Hills.
Start With a Focal Point
Pick ONE area to be the star — usually the roofline or the front entrance. Build the rest of your design around it. This keeps your display balanced instead of scattered.
Follow Your Home’s Natural Lines
The best displays trace architectural features — rooflines, windows, columns, and pathways. Let the house guide you. Clean lines always look more professional than random placement.
Mix Light Types Thoughtfully
Combine mini lights, C9 bulbs, and net lights for depth. Use warm white for elegance or multicolor for that classic, playful vibe. Just don’t overdo it — TOO many styles can look busy.
Consider Synchronized Lighting
Want to really wow the block? Synchronized Christmas lighting sets your display to music for a show-stopping effect. It takes more planning, but the payoff is HUGE — especially for holiday parties.
Think About Permanent Options
If you love holiday lights but hate the yearly setup, permanent holiday lighting is worth considering. These systems stay up year-round and let you customize colors for every season (not just Christmas).
Sketch It Out
Before you buy a single strand, draw your home and mark where each light goes. This simple step prevents overbuying — and helps you spot layout issues early.
How to Prepare Electrical Outlets and Power Sources Safely
Lights are only as good as the power behind them — and electrical safety is NON-negotiable. Overloaded circuits and wet connections cause fires every holiday season. Take a few minutes to plan your power setup correctly before plugging anything in. Here’s how we keep every installation safe.
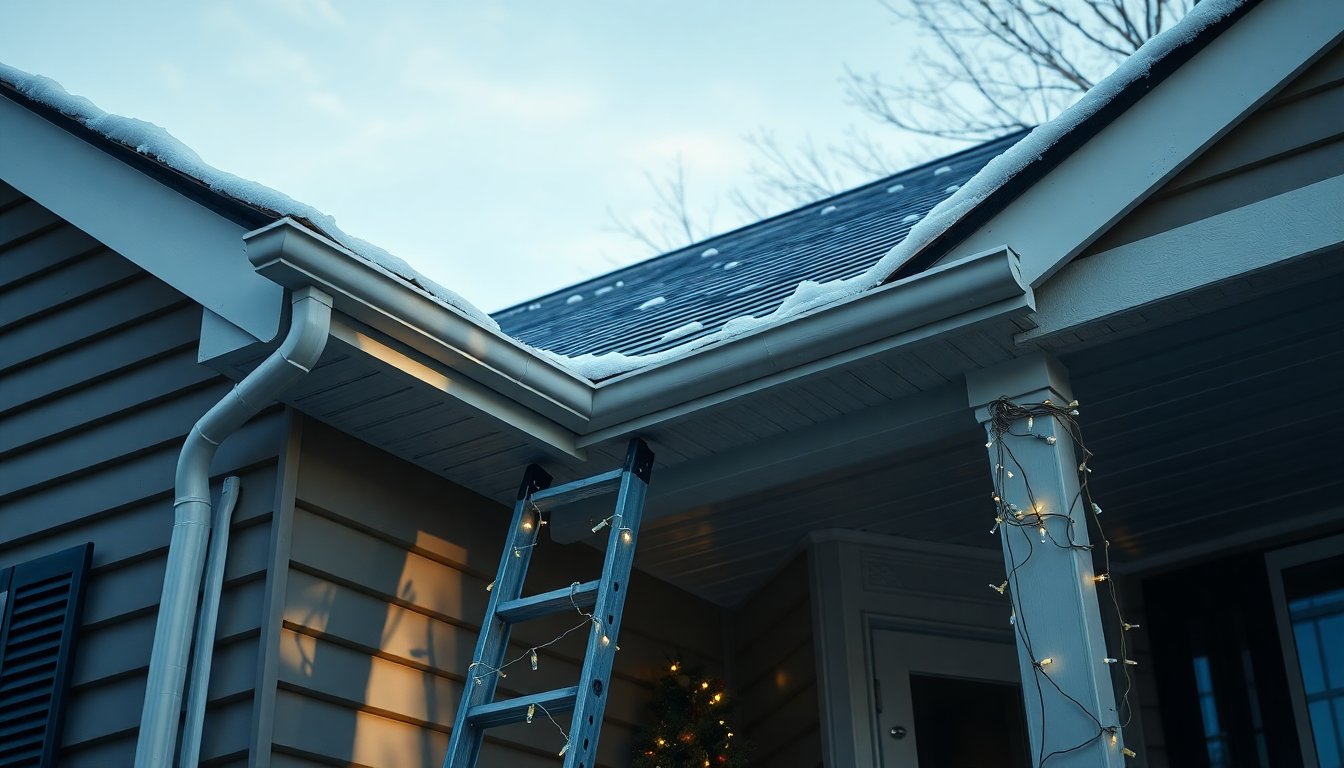
- Use GFCI outlets. These shut off power instantly if moisture is detected — essential for outdoor use.
- Don’t overload circuits. Spread your lights across multiple outlets to avoid tripping breakers.
- Use outdoor-rated cords only. Indoor cords aren’t built for cold, rain, or snow.
- Keep connections off the ground. Elevate plugs and use waterproof cord covers to block moisture.
- Calculate your wattage. Add up the wattage of all connected strands and stay under the outlet’s limit.
- Install timers or smart plugs. These save energy and reduce wear on your lights.
- Inspect cords for damage. Frayed or cracked cords should be tossed — no exceptions.
- Avoid daisy-chaining cords. Connecting too many cords together increases fire risk.
When in doubt, LED lights are your friend here — they draw far less power, so you can run more strands safely on a single circuit.
Common Christmas Light Installation Mistakes to Avoid
We’ve seen it all — and most mistakes are totally avoidable. Learning what NOT to do is just as valuable as knowing the right steps. Steer clear of these common blunders and your installation will look better and last longer. Here are the ones we see most often across the DFW area.
- Using staples or nails. They damage your home AND your wires. Always use proper clips.
- Buying too few lights. Running short mid-project (and returning to the store) is the classic mistake — measure first.
- Ignoring the weather. Installing in rain, wind, or ice is dangerous. Wait for a clear day.
- Overloading outlets. Too many strands on one circuit is a fire hazard — spread the load.
- Mixing old and new bulbs. Different colors and brightness levels look uneven and messy.
- Skipping the timer. Manually turning lights on and off every day gets old FAST.
- Forgetting to test strands first. Always plug in and check every strand BEFORE hanging.
- Rushing the takedown. Yanking lights down damages them — remove clips gently for next year.
- Working alone on ladders. Have a spotter. Falls are the most common holiday injury.
Avoid these and you’re already ahead of most DIYers. But if the roofline is steep or the project feels overwhelming, that’s exactly what professional installers are for.
Conclusion
Preparing your home for Christmas light installation doesn’t have to be stressful. Gather your supplies, inspect your roof, measure carefully, plan a smart layout, and keep electrical safety top of mind — that’s the whole game. Skip the common mistakes, and you’ll have a display that shines all season long (without the headaches).
At DFW Christmas Light Installs, we help homeowners and businesses across Watauga, Hurst, Euless, Colleyville, Fort Worth, Arlington, and Dallas light up the holidays the EASY way. Whether you want a classic roofline glow, synchronized lighting, or permanent holiday lighting, we’re ready to make your home the brightest on the block. Reach out today and let’s get your display planned!