Steep Roof Christmas Light Installation (Safety & How-To Guide)
Hanging Christmas lights is one thing. Hanging them on a STEEP roof is a whole different challenge. Here at DFW Christmas Light Installs in Watauga, we’ve handled steep roof Christmas light installation on every kind of home you can imagine — from towering two-story colonials in Colleyville to sharp-pitched roofs in Fort Worth. And we know firsthand how quickly a festive project can turn dangerous.
That’s why we put together this safety and how-to guide. Whether you’re thinking about doing it yourself or just want to understand what goes into a safe installation, we’ll walk you through the equipment, the steps, the light choices, and the mistakes to avoid. Let’s get your home glowing — SAFELY.
What Safety Equipment Do You Need for Steep Roof Christmas Light Installation
Before you even touch a strand of lights, you need the right gear. A steep roof (anything with a pitch steeper than 6:12) is no place to improvise. The wrong shoes or a wobbly ladder can turn a holiday tradition into an ER visit. We take safety seriously — and if you’re going the DIY route, you should too.
Here’s the essential equipment we recommend for anyone working on a steep-pitched roof:
- A roof harness system — a full-body harness with a rope and anchor point is NON-NEGOTIABLE on steep roofs.
- Roof anchors — temporary or permanent anchors to secure your safety line.
- A stable extension ladder — fiberglass is best, rated for your weight plus tools.
- Ladder stabilizers (standoffs) — these keep the ladder off the gutters and add balance.
- Non-slip shoes — rubber-soled boots with strong grip (no worn-out sneakers).
- Work gloves — for grip and protection from sharp edges and cold clips.
- A tool belt or bucket — to keep both hands free while climbing.
- A helper on the ground — someone to stabilize the ladder and hand up supplies.
- A headlamp — because December days are SHORT and you may lose light fast.
If you don’t have this equipment (or aren’t comfortable using it), that’s a big sign the job may be better left to professionals.
How to Safely Install Christmas Lights on a Steep Roof
Alright — let’s say you’ve got your gear and you’re ready to climb. The KEY to steep roof installation is preparation. You want to spend as little time as possible balancing on the pitch. That means planning, measuring, and prepping everything on the ground first.
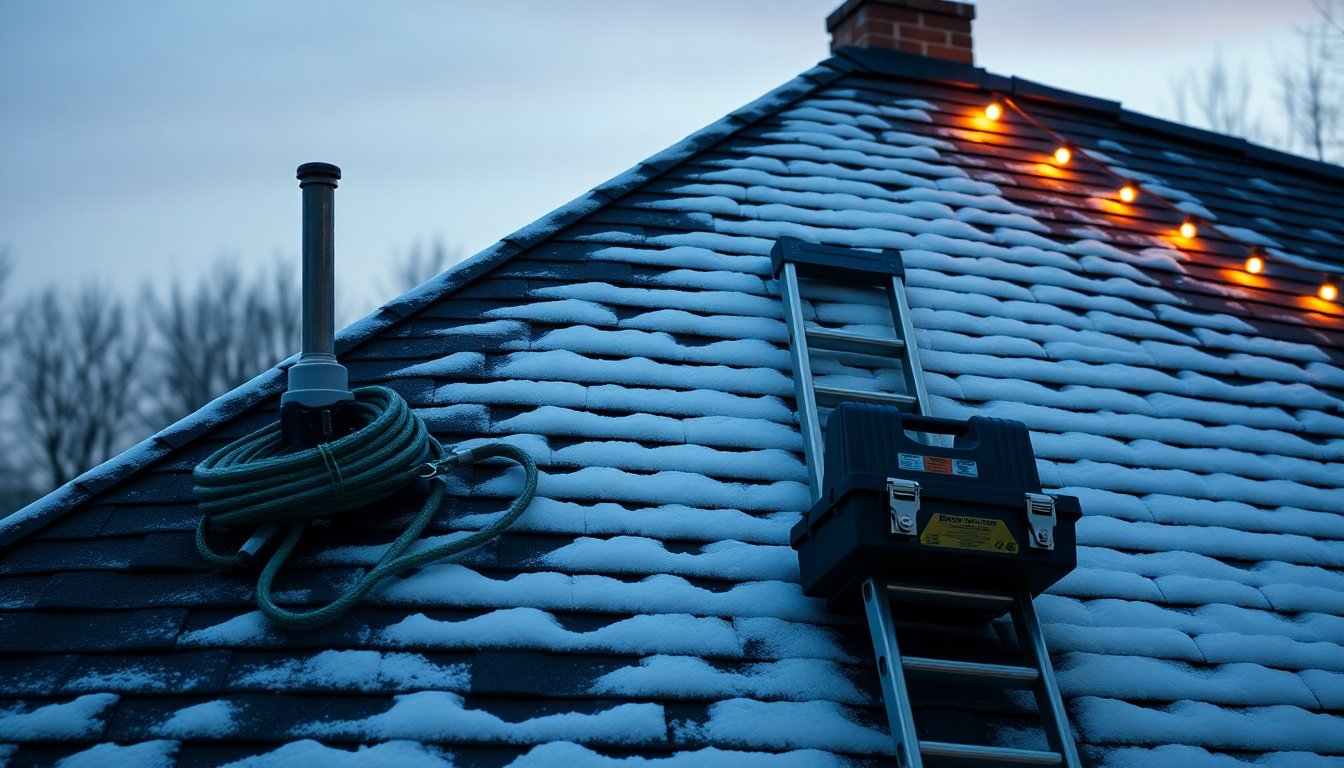
Here’s the step-by-step process we follow (and recommend) for a safe steep roof install:
- Check the weather. Never work on a wet, icy, or windy day. A damp roof is a slick roof — wait for a clear, dry morning.
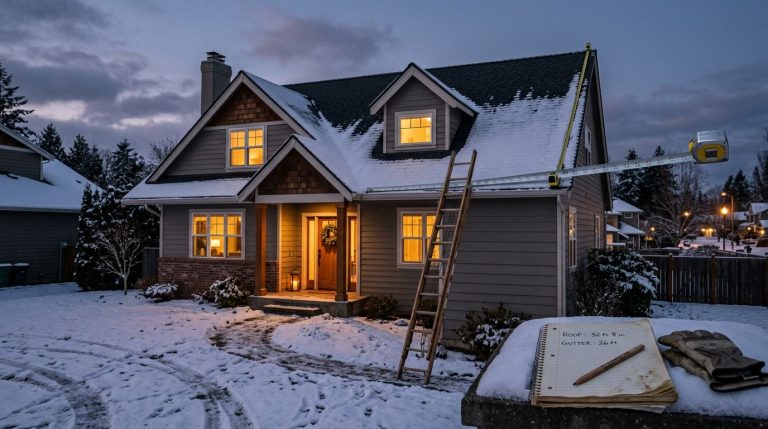
- Measure your roofline. Walk the perimeter and measure how much lighting you’ll need. Add 10% for slack and corners.
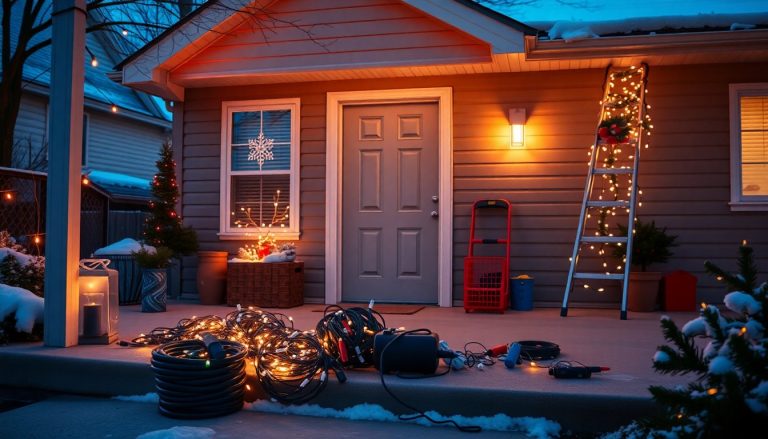
- Test your lights first. Plug in every strand BEFORE you go up. Nothing worse than climbing down to swap a dead bulb.
- Pre-attach your clips. Clip the lights to the strands on the ground when possible. Less fiddling up top.
- Set up your ladder correctly. Use the 4-to-1 rule (one foot out for every four feet up) and use standoffs.
- Anchor your harness. Secure your safety line to a solid roof anchor before stepping onto the pitch.
- Work from the edges. Install lights along the gutter line and eaves — you rarely need to go to the peak.
- Move slowly and deliberately. Keep three points of contact. Never rush, never overreach.
- Route your extension cords smartly. Keep them away from walkways and use outdoor-rated cords only.
- Plug in and test again. Once everything’s up, confirm the whole display works before you pack up.
Notice how much of this happens ON THE GROUND. That’s intentional. The less time you spend on a steep pitch, the safer you are.
What Type of Christmas Lights and Clips Work Best on Steep Roofs
Not all lights (or clips) are created equal — especially when you’re dealing with a steep angle where sagging and slipping become real problems. Choosing the right products makes the install easier and the results cleaner.
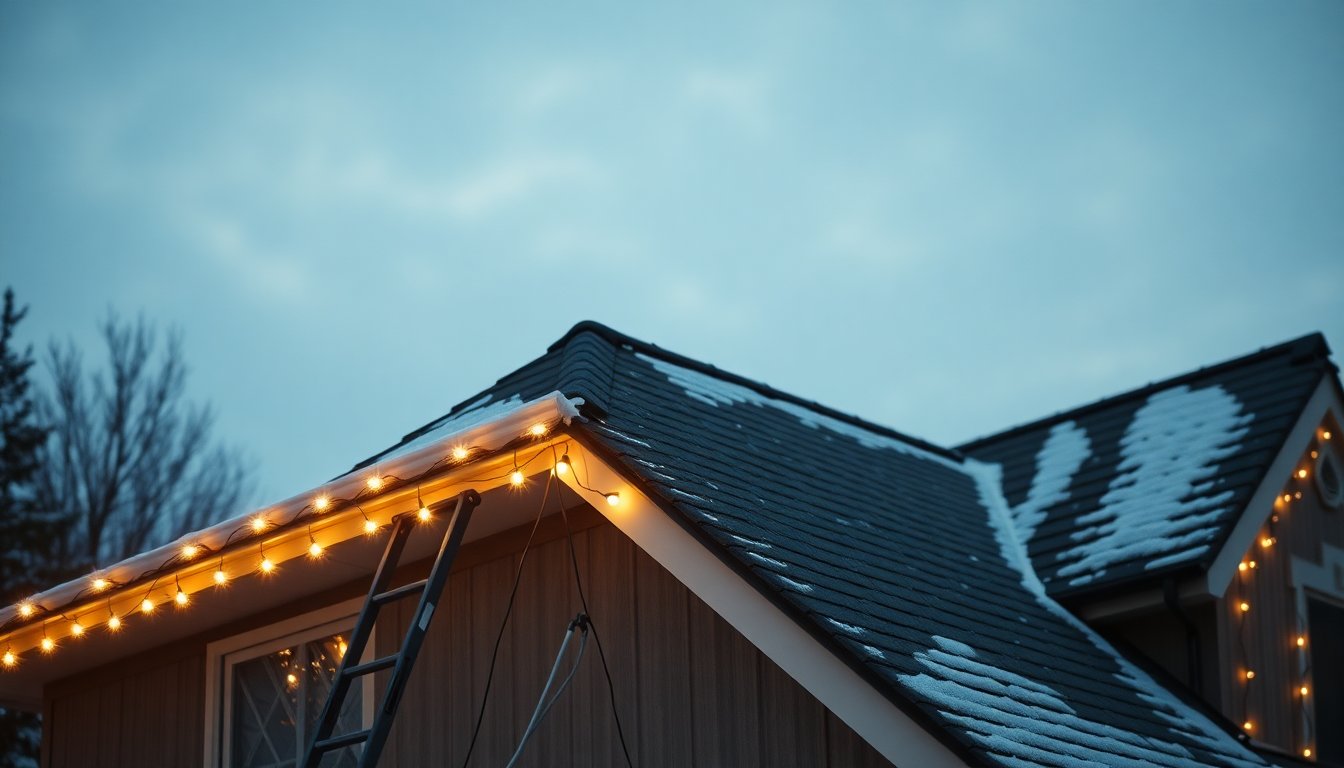
LED Lights Are the Smart Choice
We almost always recommend LED Christmas lights over incandescent. Why? They’re LIGHTER, cooler to the touch, and use far less energy. On a steep roof, lighter strands mean less strain on your clips and less sagging along the eaves. Plus, LEDs last longer — so you’re not climbing back up to replace burnt-out bulbs.
Commercial-Grade Bulbs Hold Up Better
North Texas weather swings hard — warm afternoons, freezing nights, gusty winds. Commercial-grade lights (the kind we use for our commercial Christmas lighting jobs) handle these swings better than cheap big-box strands. They’re built to survive a full season and beyond.
All-in-One Clips Are Your Best Friend
The clip you choose matters MORE on a steep roof. Look for all-in-one clips that grip both the shingle line and the gutter. These give you flexibility depending on where you’re attaching. Some tips:
- Shingle tabs — slide under shingles for a secure hold along the roofline.
- Gutter clips — hook over the gutter lip for clean, straight lines.
- All-in-one clips — do both, which is ideal for varying rooflines.
Avoid staples, nails, or adhesive hooks. They damage your roof — and on a steep pitch, they often fail when you least expect it.
Consider Permanent Holiday Lighting
Here’s a tip a lot of steep-roof homeowners love: permanent holiday lighting. These are discreet, low-profile LED systems installed once and controlled by an app. No more annual climbs on that scary pitch. You just tap your phone — and it’s a great option for homes where DIY installation is simply too risky.
Should You Hire a Professional or DIY Steep Roof Light Installation
We get it — DIY can save money, and there’s pride in doing it yourself. But steep roofs change the math. The risk goes up dramatically, and one slip can cost far more than any professional install ever would. So how do you decide?
Here are the questions to ask yourself before you climb:
- How steep is your roof? If the pitch is steeper than 6:12, DIY becomes seriously dangerous.
- How tall is your home? Two-story roofs raise the stakes (literally and figuratively).
- Do you own proper safety gear? No harness or anchors = don’t do it.
- Are you comfortable at heights? Nervousness leads to mistakes and hesitation.
- Do you have the time? A steep install can eat up an entire weekend — or two.
- Do you want it to LOOK professional? Even lines and clean cords take experience.
If you answered “no” (or “not sure”) to several of these, hiring a pro is the smart move. At DFW Christmas Light Installs, we handle residential Christmas light installation across Watauga, Hurst, Euless, Richland Hills, Colleyville, Fort Worth, Arlington, and Dallas. We bring the equipment, the experience, and the insurance — so you can enjoy the season without risking your neck. We also offer synchronized Christmas lighting for homeowners who want their display to dance to music.
Common Mistakes to Avoid When Hanging Lights on a Steep Roof
Over the years, we’ve seen (and fixed) plenty of DIY installations gone wrong. Most steep-roof mistakes come down to rushing, using the wrong products, or underestimating the danger. Here are the big ones to watch out for.
- Skipping the harness. This is the #1 mistake — and the most dangerous. Never work a steep pitch without fall protection.
- Using indoor extension cords. They aren’t weatherproof and become a fire and shock hazard outdoors.
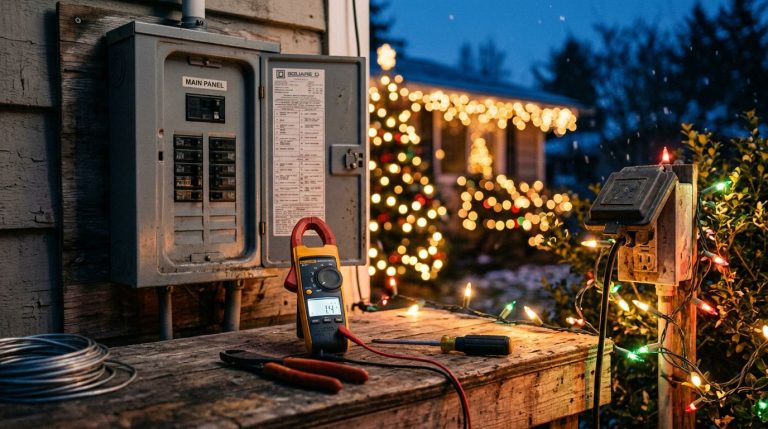
- Overloading a single outlet. Too many strands on one circuit trips breakers (or worse). Spread the load.
- Leaning too far off the ladder. Overreaching is how people fall. Move the ladder instead.
- Using nails or staples. These puncture your roof and void warranties. Use clips.
- Ignoring the weather. A little morning dew makes shingles dangerously slick.
- Not testing lights first. Dead bulbs mean extra trips up and down — more risk, more frustration.
- Working alone. Always have a spotter on the ground for a steep install.
- Leaving cords in walkways. Trip hazards ruin the fun (and can cause injury).
Most of these are easy to avoid with a little planning. But when in doubt, remember — no holiday display is worth a fall from a two-story roof.
How to Remove Christmas Lights from a Steep Roof Safely
Taking lights DOWN is just as risky as putting them up — maybe more, because people tend to rush the takedown in cold January weather. Don’t let your guard down. The same safety rules apply, and a careful removal keeps your lights in good shape for next year.
Here’s how we recommend removing steep-roof lights safely:
- Wait for good weather. January can be icy in North Texas. Pick a dry, calm day to work.
- Unplug everything first. Disconnect all strands from power before you touch a single clip.
- Gear up again. Harness, non-slip shoes, stable ladder, and a ground helper — just like install day.
- Work from the edges. Remove lights along the eaves and gutter line, moving methodically.
- Unclip — don’t yank. Pulling strands can break clips or damage shingles. Take your time.
- Coil as you go. Wrap lights around a spool or cardboard to prevent tangles for next year.
- Store properly. Keep lights in a dry, cool container away from moisture and pests.
Careful removal protects both YOU and your lights. And if the thought of climbing back up in January doesn’t appeal — we offer takedown and storage services too, so you never have to climb that steep roof at all.
Conclusion
Steep roof Christmas light installation is doable — but it demands the right equipment, careful planning, and a healthy respect for the danger. Use a harness, choose LED lights with the right clips, avoid the common mistakes, and take your time on both install AND removal. When the pitch is too steep or too tall, hiring a professional is often the safest (and smartest) choice.
At DFW Christmas Light Installs in Watauga, we make holiday lighting safe, beautiful, and completely stress-free for homeowners and businesses across the DFW area. If you’d rather skip the ladder this year, let our team handle the heights — so you can focus on enjoying the season. Reach out today and let’s light up your home the RIGHT way.